This time our focus is to install the latest OpenJDK in a Windows system. Let’s start with the download first.

Current OpenJDK GA release can be found here: https://jdk.java.net/16/ the latest version now is JDK 16.0.1 Now let’s download the latest version that is provided as a .zip archive for Windows / x64.

Here’s a direct download link: https://download.java.net/java/GA/jdk16.0.1/7147401fd7354114ac51ef3e1328291f/9/GPL/openjdk-16.0.1_windows-x64_bin.zip

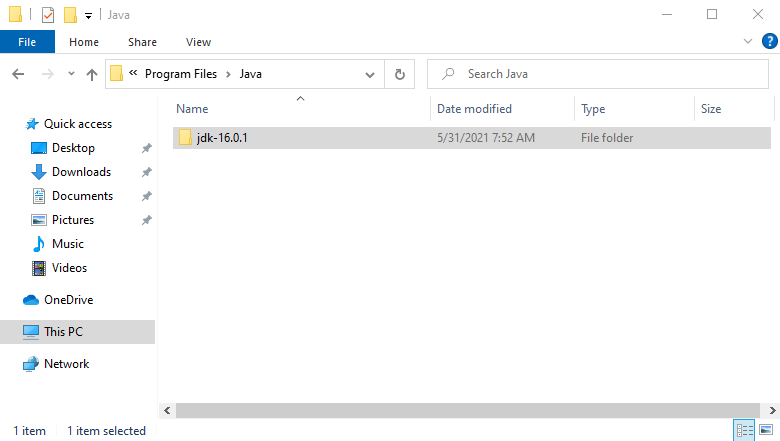
Now we’ll need to unzip the file into a target folder. I prefer to put Java into a folder like C:\Program Files\Java but theoretically it can be located anywhere on your drive. Be sure to use Admin user (or have an access to the Admin user credentials) to extract zip archive into C:\Program Files folder.

My unzipped folder looks like this:

Our next task is to add our Java to the Windows PATH variable so we can execute it across all of our System.

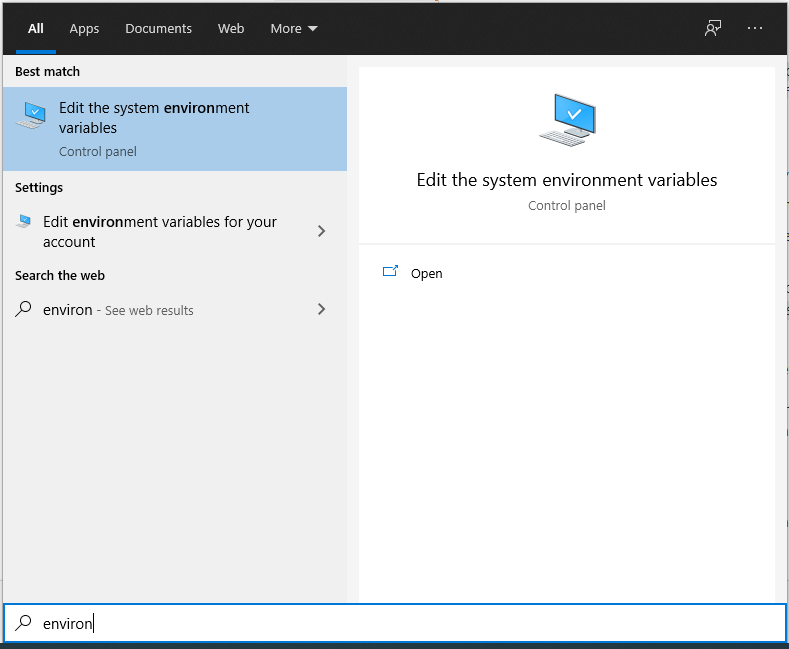
Press Win key and start typing: “Environment Variables” you should see something like this:

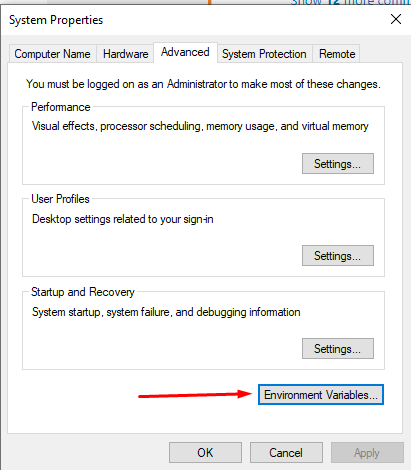
Open Edit the environment variables link and in the Advanced Tab select Environment Variables

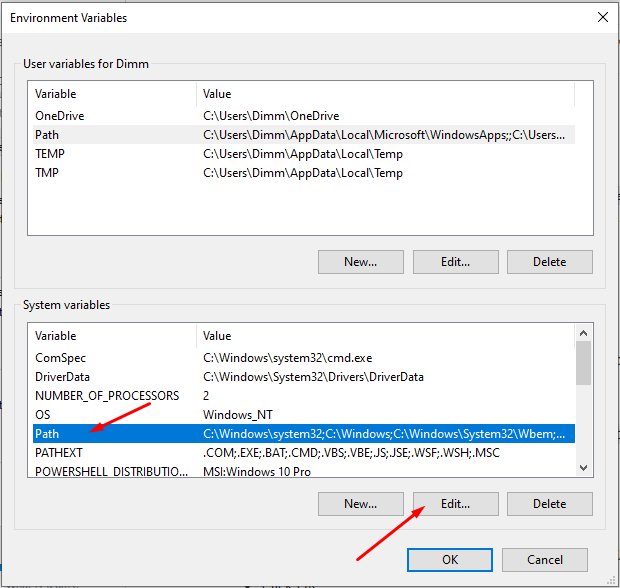
Now in the .Environment Variables select Path from a list of System Variables and click Edit…

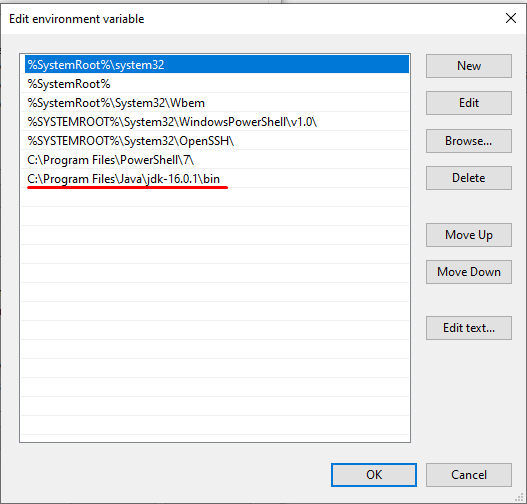
Add your folder path with Java installation to the list, be sure to use path with \bin folder in the end. In this example I have it like so:

C:\Program Files\Java\jdk-16.0.1\bin

We should have something like this eventually:

Now close all the windows and let’s verify if we have added Java to the PATH variable correctly, start the Command Prompt and just type:

echo %PATH%

Our output should have our Java installation location included, and may look like this:

We are done with this part, now we can verify that our Java installation is working properly, while in the command prompt type and execute:

C:\>java -version & javac -version

Our output is expected to be something like:

openjdk version "16.0.1" 2021-04-20
OpenJDK Runtime Environment (build 16.0.1+9-24)
OpenJDK 64-Bit Server VM (build 16.0.1+9-24, mixed mode, sharing)
javac 16.0.1

Was it simple? I think it was! Good job!

So, you are puzzled how to install JDK from tar.gz file in your Ubuntu system? In reality it’s pretty simple. Let’s start with the download first.

Open: https://jdk.java.net/16/ the latest version now is JDK 16.0.1 be careful and select proper architecture for your machine. For general x64 linux machines it’s named Linux / x64. Or you can just get it from the terminal like this:

user@ubuntu:~$ cd ~/Downloads
user@ubuntu:~$ wget https://download.java.net/java/GA/jdk16.0.1/7147401fd7354114ac51ef3e1328291f/9/GPL/openjdk-16.0.1_linux-x64_bin.tar.gz

Now you have your openjdk-16.0.1_linux-x64_bin.tar.gz in the Downloads folder the next step is to extract it to the /opt folder like so:

user@ubuntu:~$ sudo tar xvf ~/Downloads/openjdk-16.0.1_linux-x64_bin.tar.gz -C /opt

and let’s verify that we have all the files we are expecting in the /opt folder:

user@ubuntu:~$ ls -la /opt 

We should see something like:

So we are all good and now we can continue with the installation, let’s run:

user@ubuntu:~$ sudo update-alternatives --install /usr/bin/java java /opt/jdk-16.0.1/bin/java 1000

and the same idea for Java Compiler:

user@ubuntu:~$ sudo update-alternatives --install /usr/bin/javac javac /opt/jdk-16.0.1/bin/javac 1000

Now we have our JDK installed it’s time to make sure we are using the correct version. If you don’t have any other versions of Java installed you can safely skip this part. Otherwise let’s update the default JDK that our system will be using.

user@ubuntu:~$ sudo update-alternatives --config java

Possible output may look like this:

There are 2 choices for the alternative java (providing /usr/bin/java).

  Selection    Path                      Priority   Status
------------------------------------------------------------
* 0            /opt/jdk-17/bin/java       1001      auto mode
  1            /opt/jdk-16.0.1/bin/java   1000      manual mode
  2            /opt/jdk-17/bin/java       1001      manual mode

Press <enter> to keep the current choice[*], or type selection number: 

Now we need to select the version we are planning to use – in my case I’ll need to input 1 and press Enter. And let’s just run this command one more time to see if we have changed the default JDK:

user@ubuntu:~$ sudo update-alternatives --config java
There are 2 choices for the alternative java (providing /usr/bin/java).

  Selection    Path                      Priority   Status
------------------------------------------------------------
  0            /opt/jdk-17/bin/java       1001      auto mode
* 1            /opt/jdk-16.0.1/bin/java   1000      manual mode
  2            /opt/jdk-17/bin/java       1001      manual mode

Press <enter> to keep the current choice[*], or type selection number: 

Now repeat the drill for Java compiler:

user@ubuntu:~$ sudo update-alternatives --config javac

Select the version we have just installed:

There are 2 choices for the alternative javac (providing /usr/bin/javac).

  Selection    Path                       Priority   Status
------------------------------------------------------------
* 0            /opt/jdk-17/bin/javac       1001      auto mode
  1            /opt/jdk-16.0.1/bin/javac   1000      manual mode
  2            /opt/jdk-17/bin/javac       1001      manual mode

Press <enter> to keep the current choice[*], or type selection number:

And verify the result by running the same command:

user@ubuntu:~$ sudo update-alternatives --config javac
There are 2 choices for the alternative javac (providing /usr/bin/javac).

  Selection    Path                       Priority   Status
------------------------------------------------------------
  0            /opt/jdk-17/bin/javac       1001      auto mode
* 1            /opt/jdk-16.0.1/bin/javac   1000      manual mode
  2            /opt/jdk-17/bin/javac       1001      manual mode

Press <enter> to keep the current choice[*], or type selection number: 

Alright! We are all good! Now it’s the time to verify that we are all good and our version is the one we expected:

user@ubuntu:~$ java -version && javac -version

Our output is expected to be something like:

openjdk version "16.0.1" 2021-04-20
OpenJDK Runtime Environment (build 16.0.1+9-24)
OpenJDK 64-Bit Server VM (build 16.0.1+9-24, mixed mode, sharing)
javac 16.0.1

Purrrfect! This is what we were looking for! Good job!